
For an “epoxy to attach heat sink to stainless steel” RFQ, choose the adhesive against the finished joint’s heat transfer, retention and cure requirements. A high conductivity value cannot compensate for a thick, poorly cured joint. Confirm the material pair, working temperature and service access before committing to adhesive mounting.
1. Which epoxy suits a stainless steel heat sink joint?
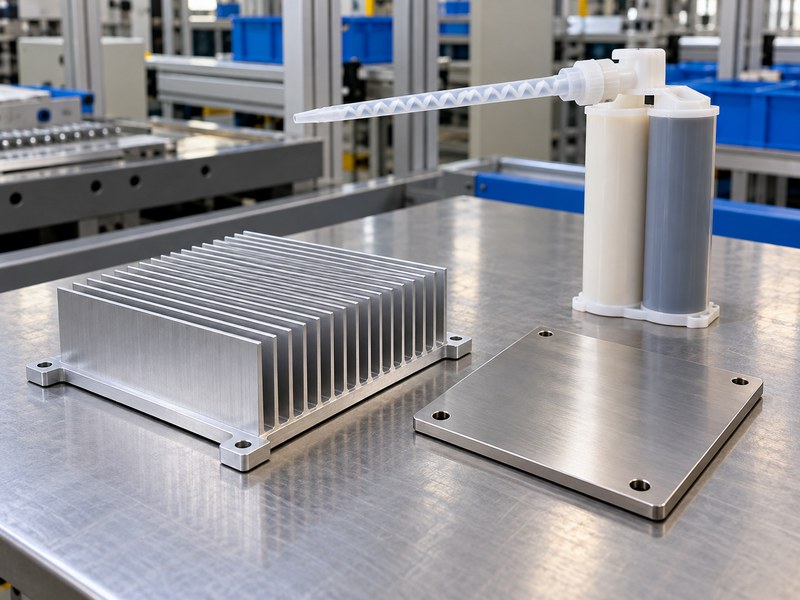
A suitable epoxy bonds the actual heat sink and stainless surfaces while meeting the assembly’s thermal, mechanical and electrical requirements. Choose epoxy to attach a heat sink to stainless steel only when a permanent or difficult-to-remove joint fits the service plan. Product selection should follow those requirements rather than the advertised conductivity alone.
Define the joint before selecting the adhesive
Record the contacting materials, surface finish, bond area and available gap. A small low-mass heat sink on a sheltered surface presents a different load case from a tall part exposed to vibration or handling. Both may need heat transfer, but their mechanical demands differ.
Review the heat sink mounting arrangement before ruling out screws or clips. Mechanical retention can sometimes separate the holding function from the thermal interface, which can help when the assembly needs repair.
- State operating temperature, heat flow and retention loads.
- Identify any electrical isolation or grounding requirement.
- Decide whether the bonded part must be removable.
| Requirement | Specify | Avoid assuming |
|---|---|---|
| Thermal path | Joint resistance target | Bulk conductivity equals joint performance |
| Retention | Loads and supported mass | A strong coupon predicts every assembly |
| Service | Repair and replacement method | A cured bond will release cleanly |
Shortlist adhesives only after these conditions are defined.
2. How clean must stainless steel be before bonding?
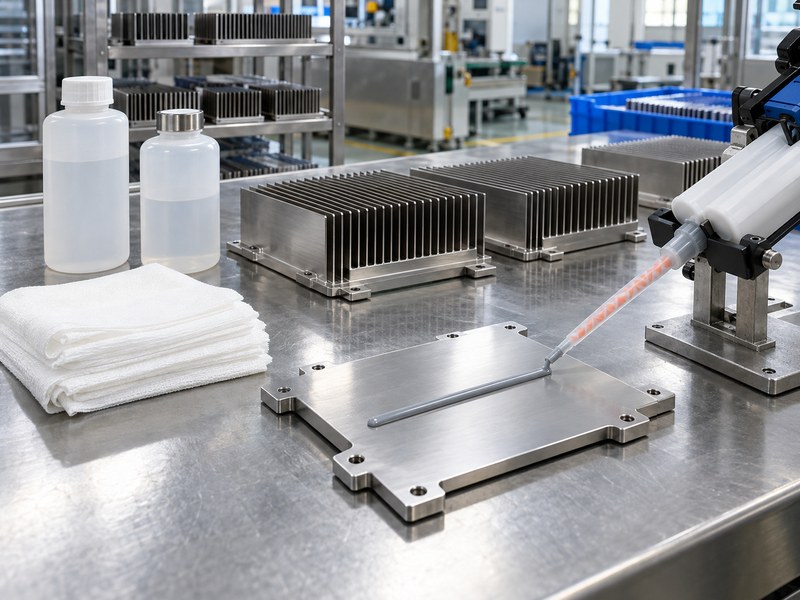
Stainless steel must be prepared using a cleaning process compatible with the adhesive and the actual production surface. When selecting epoxy to attach a heat sink to stainless steel, include oil, handling residue and machining-fluid removal in the trial. A surface that looks clean can still bond inconsistently.
Control the interval between preparation and assembly
Follow the adhesive supplier’s preparation guidance and verify it on your surfaces. Cleaning fluid, wipe material and drying conditions can affect residue. Handling the prepared face or leaving it exposed in a dirty area can undo an otherwise suitable process.
Use representative production parts during qualification. A carefully cleaned laboratory coupon does not describe an assembly line that receives parts with a different machining fluid or protective film.
- Identify the received surface condition and any protective coating.
- Specify approved cleaning materials and handling methods.
- Define a practical preparation-to-bonding interval.
| Process step | Control | Qualification question |
|---|---|---|
| Receipt | Oil, film and storage condition | Does it match the trial surface? |
| Cleaning | Materials and sequence | Does residue remain? |
| Handling | Clean contact tools and storage | Can the face be recontaminated? |
Retain the surface-preparation method with the adhesive approval record.
3. What surface finish helps an epoxy bond?
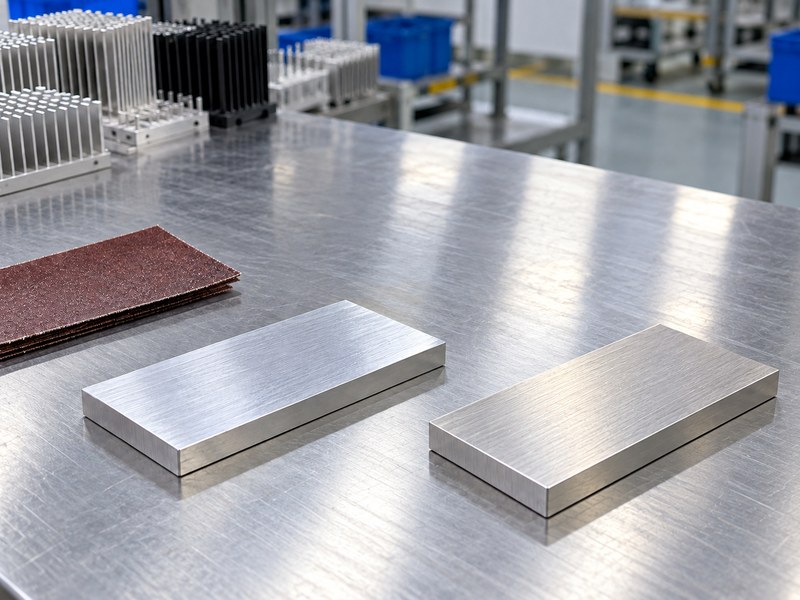
The best surface finish is one that produces a repeatable bond with the approved preparation and adhesive system. For epoxy to attach a heat sink to stainless steel, roughness, cleanliness and surface chemistry interact. A mirror finish or an aggressively rough surface should not be accepted solely on appearance.
Qualify abrasion or treatment on the real interface
If abrasion is proposed, define the method and subsequent cleaning rather than allowing an uncontrolled hand-finishing step. The process must preserve contact geometry and remove loose particles. A primer or other treatment needs its own application and storage controls.
Review machined contact surfaces for flatness before blaming an adhesive for variable gap thickness. A roughness number describes a surface texture; it does not establish that two large faces fit together uniformly.
- Check both sides of the joint, including the heat sink finish.
- Record any primer, treatment and elapsed-time limit.
- Keep preparation tools appropriate for the specified materials.
| Surface property | Affects | Separate check |
|---|---|---|
| Cleanliness | Wetting and adhesion | Preparation process |
| Roughness | Local contact and adhesive interaction | Qualified texture range |
| Flatness | Bond-line variation | Mating-face geometry |
Approve the whole preparation sequence rather than a roughness value in isolation.
4. How should a two-part thermal epoxy be mixed?
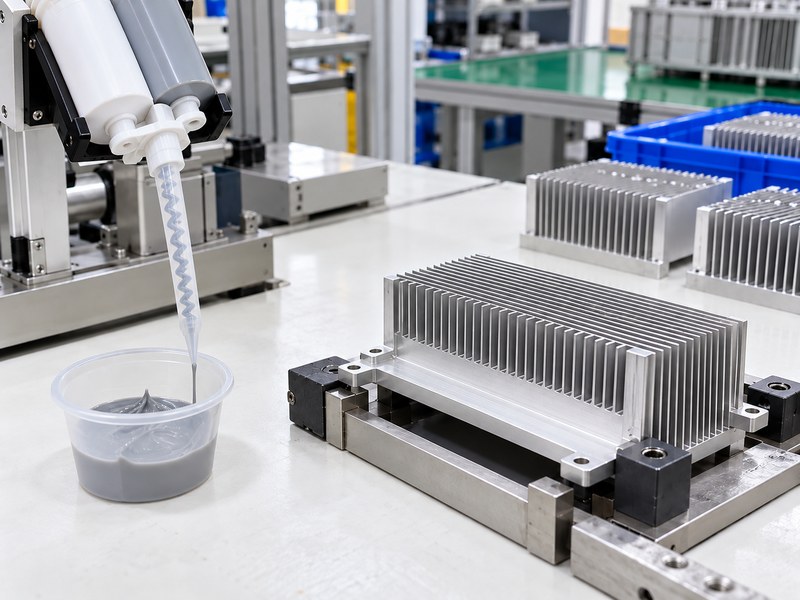
Mix a two-part thermal epoxy using the specified ratio and method for that product. When using epoxy to attach a heat sink to stainless steel, distinguish ratios by mass from ratios by volume. They are not interchangeable unless the manufacturer provides the corresponding values.
Keep mixing and working time reproducible
A cartridge and approved static mixer can help control dispensing, but the correct outlet, mixer and initial discard procedure still matter. Hand mixing requires a defined method that reaches the entire batch without leaving unmixed material at the container wall. Follow the product’s handling instructions for filled systems.
Working life depends on conditions such as temperature and mixed quantity. Do not extend it by treating partly reacted adhesive as fresh material, and do not assume a larger mixed batch behaves like a small trial batch.
- Confirm product identity, storage condition and usable life.
- Use the specified mixing equipment and ratio basis.
- Record the permitted working interval before assembly.
| Mixing detail | Required control | Common source of variation |
|---|---|---|
| Ratio | Product-specific basis | Confusing mass and volume |
| Mixing | Approved method and equipment | Unmixed material |
| Timing | Conditions and working interval | Applying material too late |
Qualify the dispensing process with the same equipment and batch size intended for production.
5. How thin should the epoxy bond line be?
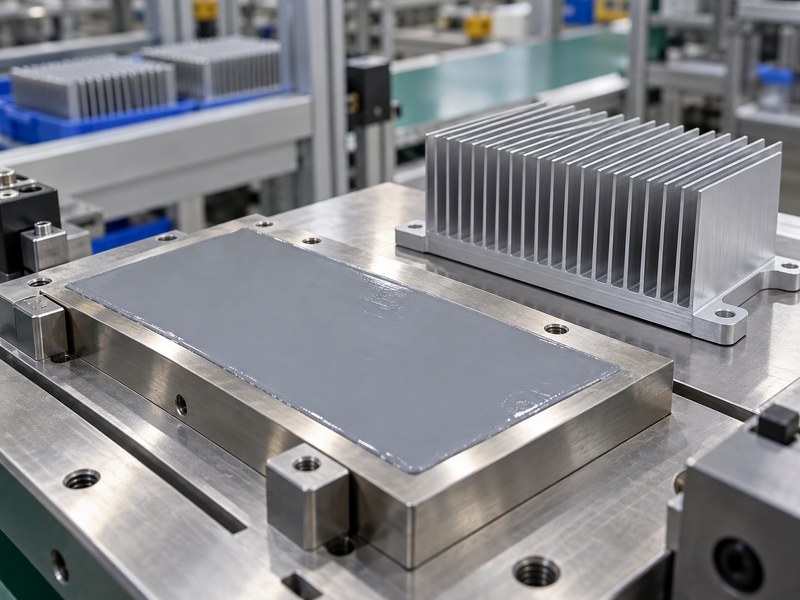
The epoxy bond line should be thin enough for the thermal target while remaining within the adhesive’s qualified gap range. Choosing epoxy to attach a heat sink to stainless steel includes choosing a feasible thickness-control method. Squeezing out every visible trace does not establish a sound joint.
Calculate the thermal effect of thickness
For an illustrative uniform layer, assume 600 mm² area and conductivity of 1.5 W/(m·K). A 100 µm layer gives R = L/(kA) of about 0.11 K/W, while 300 µm gives about 0.33 K/W. At 20 W, those layer contributions are roughly 2.2 K and 6.7 K, before contact and spreading effects.
Published adhesive mounting guidance also emphasizes uniform bond thickness. Compare a proposed adhesive with thermal tape using the complete joint and load conditions, rather than conductivity alone.
- Specify the accepted gap and how it is established.
- Account for mating-face flatness and filler characteristics.
- Check coverage and trapped voids using the agreed method.
| Worked example | Layer thickness | Calculated layer resistance |
|---|---|---|
| Same assumed material and area | 100 µm | About 0.11 K/W |
| Same assumed material and area | 300 µm | About 0.33 K/W |
Replace these assumptions with product data and verified assembly dimensions before selecting a thickness.
6. How should the heat sink be held during cure?
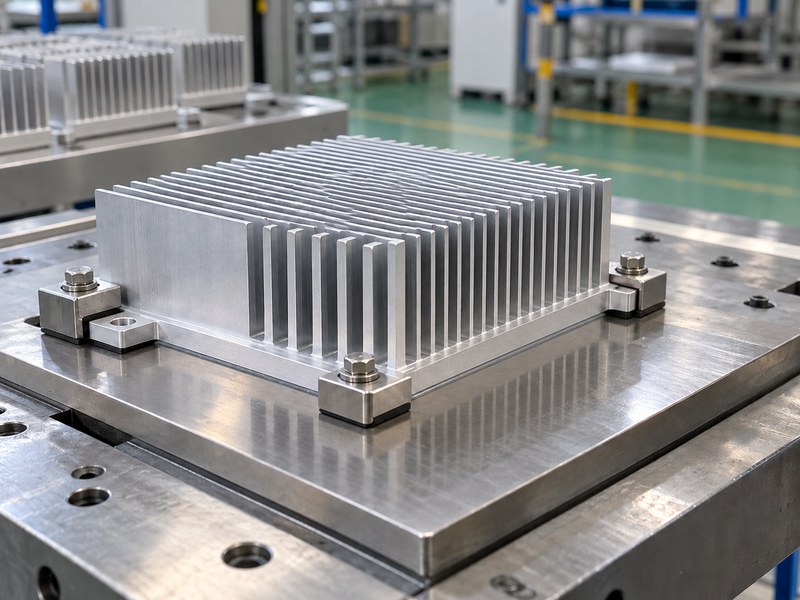
Hold the heat sink in a fixture that maintains alignment and the specified bond line throughout cure. Epoxy used to attach a heat sink to stainless steel may need controlled pressure and temperature, depending on its instructions. The fixture should load suitable base features without bending fins or distorting a thin plate.
Measure the part condition rather than the oven setting
If heat cure is required, the adhesive joint must reach the specified condition for the required time. A thick metal assembly can lag behind the oven air, while attached components may impose temperature limits. Define how the cure is verified on a representative stack.
Review mounting hardware and clamping features before the trial. Excessive pressure can change the gap or squeeze adhesive away from part of the interface; uneven pressure can create a wedge-shaped layer.
- Support the stainless plate so it cannot bow during clamping.
- Apply load through the base or approved fixture features.
- Preserve alignment until the specified release condition is reached.
| Fixture feature | Purpose | Check |
|---|---|---|
| Parallel support | Holds the intended gap | No plate bow |
| Controlled load | Maintains contact | No fin or package damage |
| Temperature monitoring | Verifies cure conditions | Representative joint location |
Keep fixture settings and release timing in the assembly instruction.
7. Which thermal and electrical properties matter?
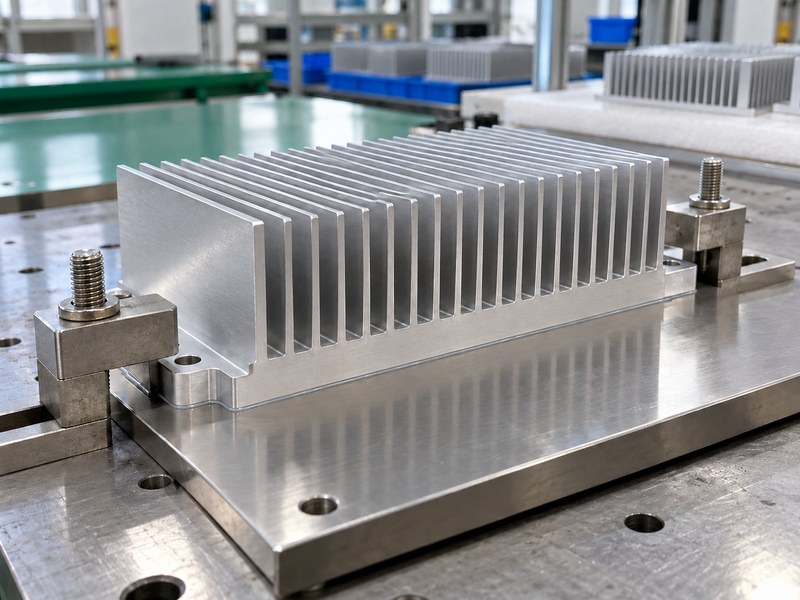
Thermal resistance, temperature capability and electrical behavior matter together when selecting epoxy to attach a heat sink to stainless steel. A thermally conductive filler does not establish electrical insulation. Some adhesive systems conduct electricity, and an insulating claim still needs conditions relevant to the finished joint.
Read the test conditions behind the numbers
Check the temperature range, cure state and test method behind reported properties. Glass-transition temperature is a material characteristic rather than a universal continuous-service rating. Mechanical behavior can change across temperature and with moisture exposure, so compare data that represent the intended environment.
An adhesive may replace retention hardware without replacing every function of a thermal interface pad. Review isolation, compliance and tolerance accommodation separately before changing the assembly stack.
- Confirm whether the joint must insulate, conduct or remain electrically undefined.
- Check property data for the specified cure and bond thickness.
- Identify environmental exposure beyond temperature alone.
| Datasheet item | Ask | Avoid inferring |
|---|---|---|
| Conductivity | Which method and conditions? | Finished-joint resistance |
| Electrical property | At what thickness and voltage conditions? | Certified assembly insulation |
| Temperature data | Which exposure and duration? | Unlimited service life |
Use the joint’s requirements to decide which properties need assembly-level verification.
8. Can an epoxy joint handle vibration and cycling?
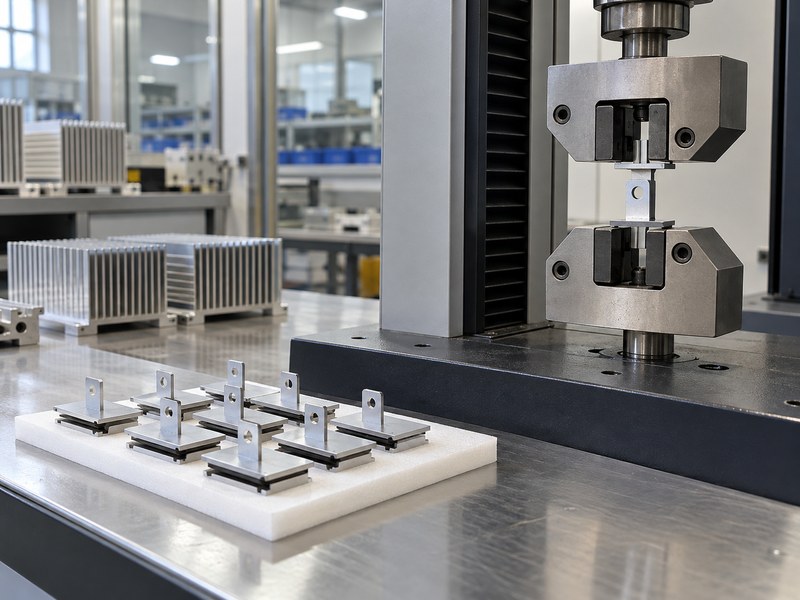
An epoxy joint can handle vibration and temperature cycling only if the qualified assembly demonstrates that duty. When using epoxy to attach a heat sink to stainless steel, include the heat sink’s mass, height and support arrangement. A tall part can apply a bending moment that a simple lap-shear coupon does not reproduce.
Evaluate load direction and material movement
Differential thermal expansion can stress the bond as the two materials heat and cool. The joint may also see peel or edge loading during service and handling. Nominal force divided by area describes average stress, but it does not predict local edge stress or fatigue life.
Test representative joints with the actual surface preparation and cure. If added mechanical support is proposed, qualify that combined arrangement rather than assuming the adhesive and support each carry an independent fixed share.
- Include handling loads as well as normal operating vibration.
- Review peel and bending, not only average shear.
- Measure thermal performance after durability exposure.
| Load | Why a coupon may miss it | Representative test feature |
|---|---|---|
| Bending | Heat sink height creates a lever arm | Actual part geometry |
| Thermal cycling | Materials expand differently | Real temperature range and dwell |
| Handling | Loads occur at exposed fins | Defined service condition |
Use coupon data for screening and assembly data for the final mounting decision.
9. How do you inspect and validate an epoxy bond?
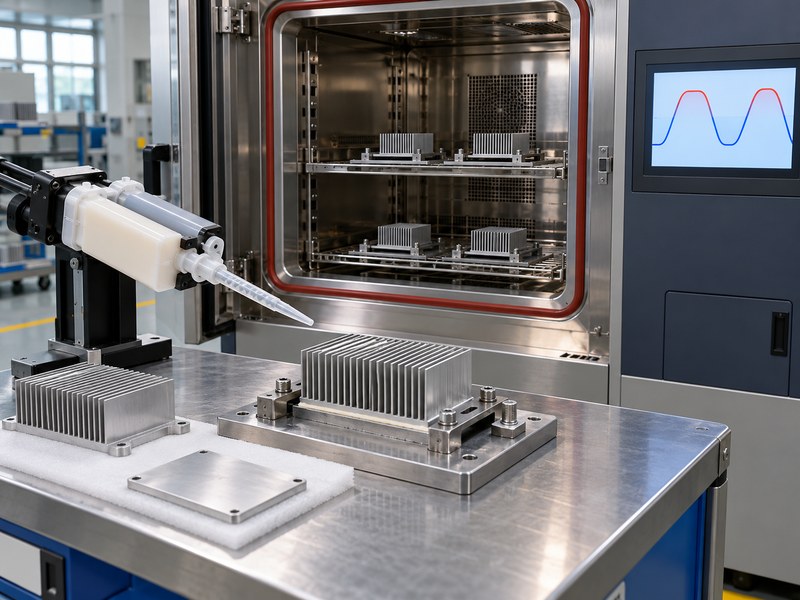
Qualifying epoxy to attach a heat sink to stainless steel requires thermal and mechanical checks tied to the intended application. Visual inspection can find gross misalignment or excess adhesive, but it cannot establish internal coverage, complete cure or long-term adhesion by itself. Define which checks belong to qualification and which belong to routine production.
Keep material and process records connected
Record adhesive lot, preparation method, mix or dispensing conditions, cure and assembly identification. Retain representative coupons or other agreed evidence when they help confirm the process. Define an accepted method for evaluating coverage or voids rather than relying on an attractive edge bead.
Check the final machined heat sink interface after the specified exposure if movement or damage could change heat flow. A mechanically retained sample that runs hotter afterward still needs investigation.
- Compare initial and post-exposure thermal results.
- Define acceptable joint geometry and visible condition.
- Link production records to the approved preparation and cure process.
| Check | Shows | Does not prove alone |
|---|---|---|
| Visual inspection | External condition | Internal coverage |
| Thermal test | Heat-path performance | Mechanical fatigue life |
| Retention test | Defined load response | Performance under every environment |
Choose inspection coverage from the failure modes that matter in your assembly.
10. When should you choose a different mounting method?
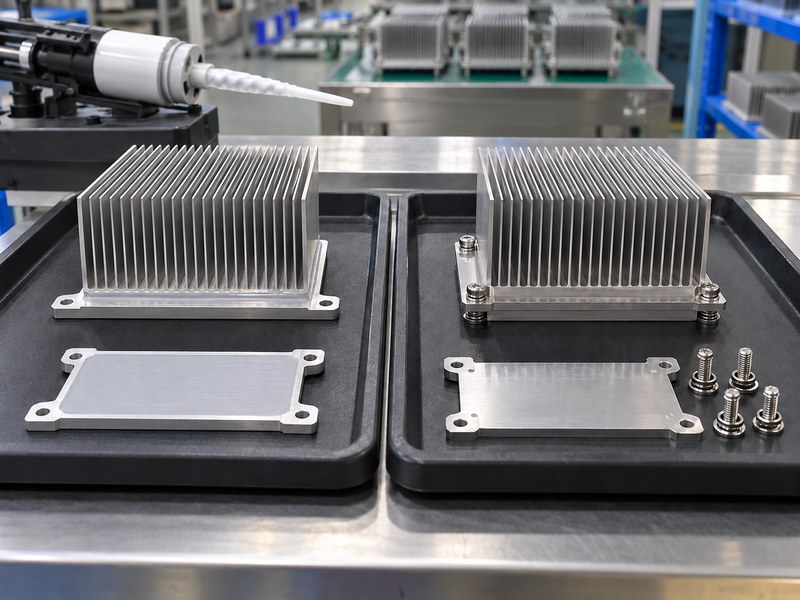
Choose a different method when epoxy cannot meet the required heat path, retention, process control or repair needs. Using epoxy to attach a heat sink to stainless steel is one mounting option. A clip, screw, suitable tape or a revised contact geometry may fit the application better once the complete requirements are compared.
Ask for an assembly review rather than an adhesive-only quote
Give the supplier the material pair, surface condition, gap, load and temperature target. Include electrical requirements, cure limits and the expected repair method. Ask for a trial plan and the evidence needed before switching the production process.
Send your drawing and thermal target when you contact us. We can review relevant heat sink geometry and mounting options while you qualify the adhesive and assembly process with its supplier.
- Compare the full assembled resistance and retention method.
- Include cure fixtures, process time and inspection in cost comparisons.
- Keep replacement and maintenance access in the decision.
| Mounting route | Useful characteristic | Check before selection |
|---|---|---|
| Adhesive | Can avoid separate retention hardware | Cure, durability and repair |
| Mechanical retention | Can permit disassembly | Clamp load and interface stack |
| Alternative interface | May suit tolerance or process needs | Thermal and mechanical duty |
Approve the mounting system from the qualified assembly rather than a single datasheet value.
FAQ
Q1: Can I use ordinary epoxy to bond a heat sink?
Only if it meets the joint’s thermal, mechanical and environmental requirements. Ordinary adhesive strength does not establish adequate heat transfer or electrical behavior.
Q2: Is a higher conductivity adhesive always better?
No. Bond thickness, coverage, cure and contact geometry affect the assembled heat path. Compare complete joints under the same conditions rather than one bulk property.
Q3: Can I remove an epoxy-mounted heat sink later?
Sometimes, but removal can damage the heat sink, stainless surface or attached components. Define a tested repair method before choosing a permanent bond for a serviceable assembly.
Q4: How do I know whether the adhesive cured correctly?
Use the approved process record and verification method for the product and joint. An apparently hard edge or clean appearance alone does not establish cure throughout the bond line.
Q5: Can thermal grease replace the epoxy?
Grease normally needs a separate retention method and should not be assumed to hold the heat sink in place. Review the complete mounting stack before substituting one interface material for another.