
Choose a stainless steel heat sink only after checking its temperature rise, corrosion exposure and mounting requirements together. A washdown enclosure may need stainless construction while its electronics need a shorter, more conductive heat path. Define those needs before you ask a supplier to quote a finished part.
1. When does a stainless steel heat sink make sense?
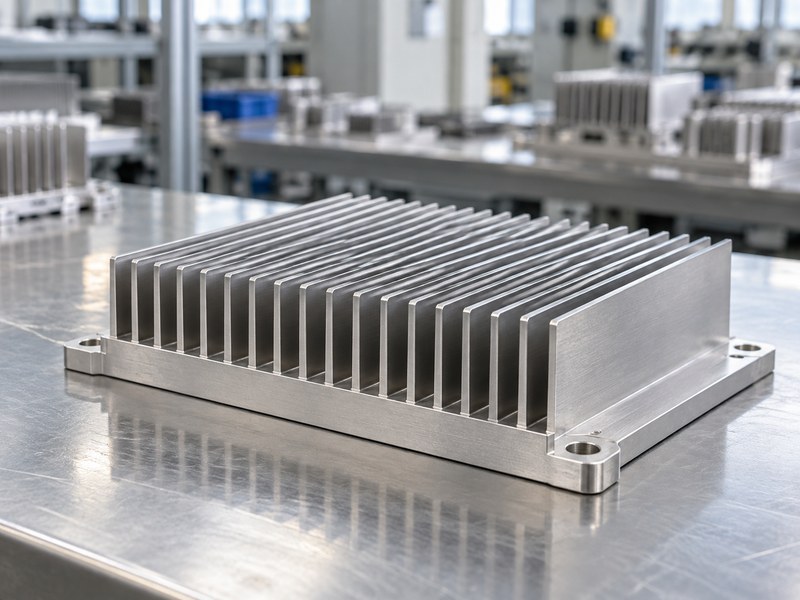
A stainless steel heat sink makes sense when the environment or mechanical design justifies stainless and the cooling calculation still passes. Corrosion resistance, cleaning requirements and structural integration can support that choice. They do not establish how much continuous heat the part can reject.
Start with the reason for specifying stainless
A sensor housing exposed to cleaning chemicals has different needs from a dry control cabinet. The housing may need a particular exposed alloy, while an internal copper or aluminum component carries most of the heat. Separating those functions gives you more options than requiring every cooling surface to use one material.
Review the stainless steel heat sink as part of the enclosure. Include seals, cable entries and mounting features because these can restrict airflow or create unwanted thermal paths into nearby components.
- Identify which surfaces contact the environment or the process fluid.
- State whether stainless is mandatory everywhere or only in exposed areas.
- Define the continuous temperature limit before choosing a geometry.
| Reason for stainless | Useful design response | Remaining check |
|---|---|---|
| Cleaning exposure | Compatible exposed alloy and finish | Actual cleaner conditions |
| Structural integration | Shared housing or mounting features | Heat spreading and contact |
| Material restriction | Defined approved materials | Feasible cooling route |
Keep the material requirement tied to a real exposure or function rather than a general preference.
2. Which stainless steel heat sink grade should you specify?
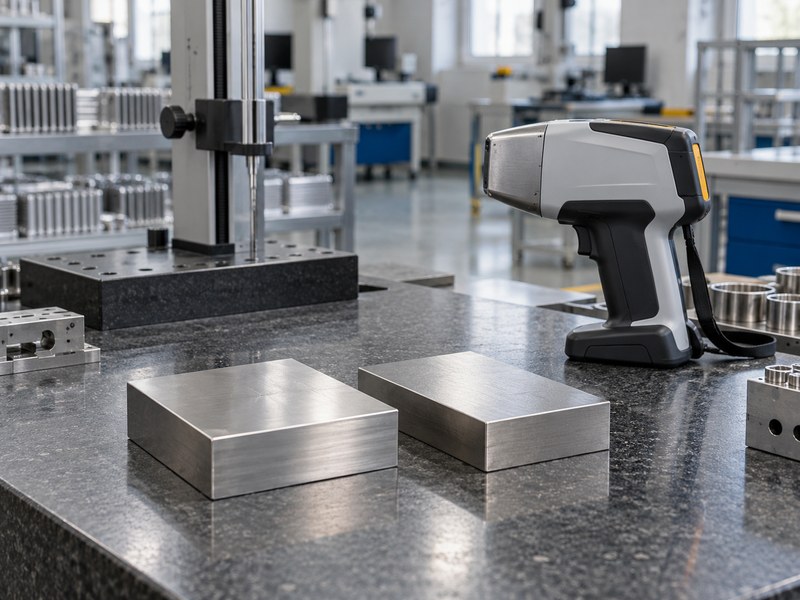
Specify a stainless steel heat sink grade using the exposure conditions, joining route and required material documentation. Austenitic, ferritic and other stainless families have different properties. Even within one family, a corrosion or fabrication requirement can change which grade is suitable.
Avoid buying by appearance or magnet response
A bright finish does not identify an alloy, and a simple magnet check cannot establish a production grade. Some stainless grades are magnetic, while processing can change magnetic response in others. Use suitable documentation and an agreed material-identification method where the purchasing risk warrants it.
For chloride-containing environments, compare the specific grade with the actual concentration, temperature, crevices and cleaning cycle. Check the grade against published stainless steel properties. A grade name alone cannot promise freedom from pitting, and a low-carbon designation does not automatically mean better thermal performance.
- State the full grade and the accepted equivalent, if any.
- Define the product form and any required material condition.
- Require approval before changes to grade, source or treatment.
| Purchasing detail | Why it belongs in the order | Evidence to request |
|---|---|---|
| Grade designation | Controls composition | Agreed material record |
| Lot identity | Connects stock to finished parts | Traceability marking or record |
| Substitution rule | Prevents silent changes | Written engineering approval |
Make traceability proportional to the consequence of an incorrect material substitution.
3. How much heat can a stainless steel heat sink carry?
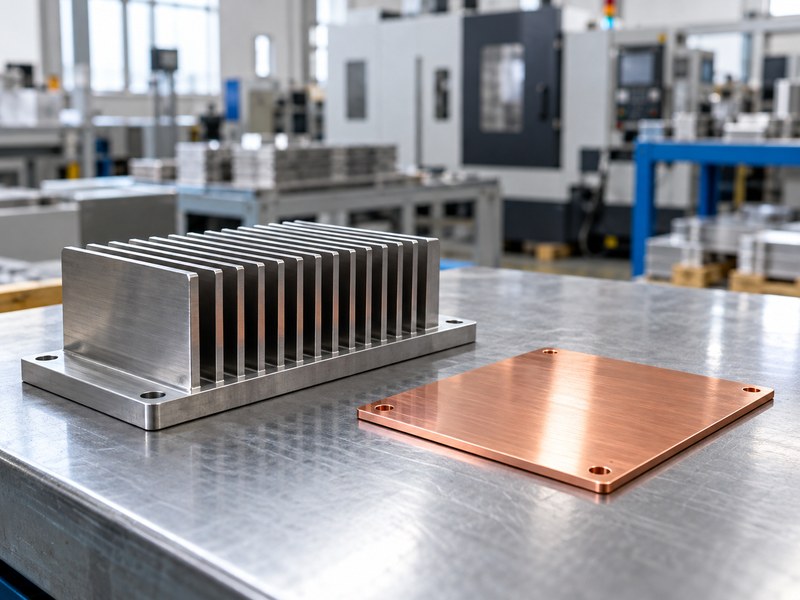
A stainless steel heat sink can carry the heat that keeps the source within its temperature budget under defined conditions. There is no useful wattage rating without a temperature limit, source footprint, interface and cooling boundary. Conductivity becomes especially restrictive beneath a small, concentrated source.
Calculate a local conduction example
Assume a 3 mm path, a 20 × 20 mm contact area and conductivity of 16 W/(m·K) for a worked example. The one-dimensional resistance is 0.003/(16 × 0.0004), or about 0.47 K/W. At 20 W, that path alone adds roughly 9.4 K; spreading, contact and air-side losses come afterward.
A stainless steel heat sink with a wider source contact or a conductive insert may reduce the local penalty. Verify the interface to that insert because an extra joint can consume part of the expected benefit.
- Use alloy properties at the relevant temperature.
- Keep the concentrated heat path short and adequately wide.
- Include source-to-base contact resistance in the model.
| Example parameter | Assumed value | Meaning |
|---|---|---|
| Thickness | 3 mm | Uniform through-thickness path |
| Contact area | 400 mm² | Full contact assumed |
| Heat load | 20 W | About 9.4 K conduction rise |
Treat this as a calculation example, then replace the assumptions with your actual geometry and data.
4. How should a stainless steel heat sink fit its enclosure?
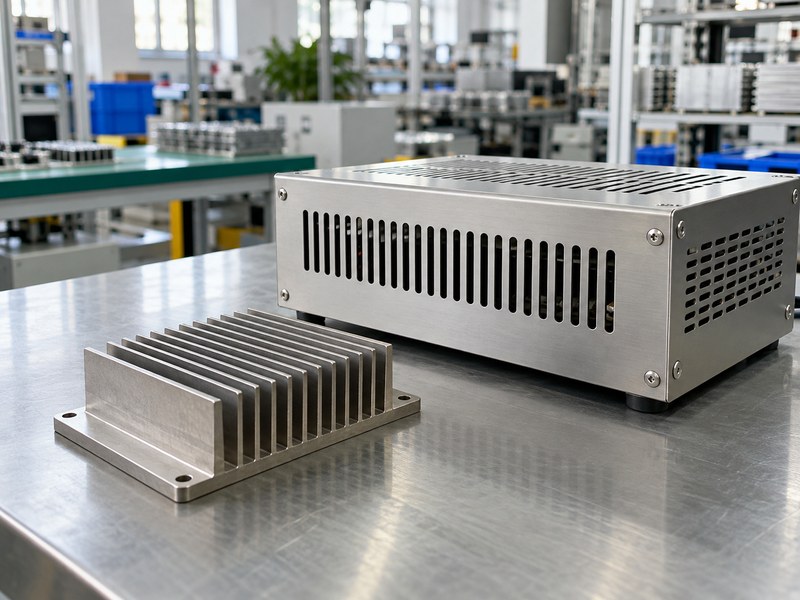
A stainless steel heat sink should fit its enclosure with enough clearance for the intended airflow and service access. Cooling depends on the air next to the fins rather than a distant room-temperature reading. Recirculated exhaust can raise that local temperature even when a fan is running.
Use the temperature budget as a packaging constraint
For an illustrative design, take a 100°C junction target, 45°C local inlet air and 25 W dissipation. If the package and interface consume 0.6 and 0.2 K/W respectively, the remaining sink-to-air allowance is (100 − 45)/25 − 0.6 − 0.2 = 1.4 K/W.
That allowance belongs to the installed configuration. A filter, cover or neighboring component can change the fan operating point, and natural convection changes with orientation. Reserve the needed air path before other parts occupy it.
- Define inlet temperature under the worst operating condition.
- Keep exhaust from returning directly to the inlet.
- Review filter condition and realistic maintenance intervals.
| Packaging item | Thermal effect | Design action |
|---|---|---|
| Restricted entry | Less air reaches the fins | Reserve inlet area |
| Recirculation | Higher local air temperature | Separate intake and exhaust |
| Changed orientation | Different buoyant airflow | Test the intended mounting |
Approve the enclosure arrangement and cooling component as one configuration.
5. How does corrosion affect a stainless steel heat sink?
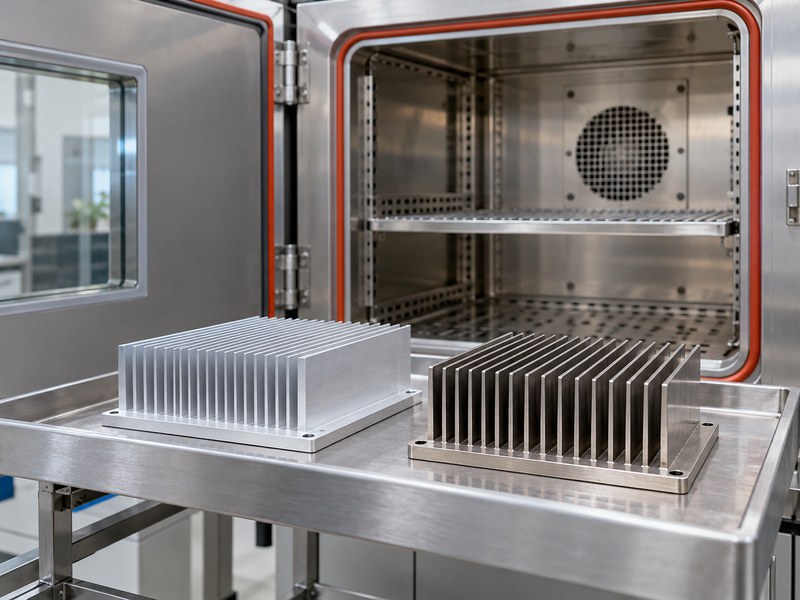
Corrosion can affect a stainless steel heat sink through pitting, crevice attack or contamination, depending on its grade and exposure. Stainless relies on surface condition and suitable chemistry. Trapped cleaner beneath a washer or inside a narrow gap can create a different exposure from the open outer face.
Specify the cleaning and drainage conditions
Ask how cleaning liquid leaves the assembly and which joints remain wet. A fine fin array can retain residue and become difficult to inspect. Define compatible cleaning agents and limits with the material and process requirements rather than describing the part as “washdown suitable” without conditions.
The exposed stainless steel heat sink also needs separation from contamination introduced during fabrication. Tools, handling and storage should preserve the specified surface condition after final cleaning.
- Identify possible crevices, deposits and stagnant-liquid locations.
- Specify the required final cleaning or passivation process when applicable.
- Select qualification conditions that represent the intended exposure.
| Exposure detail | Possible concern | Useful requirement |
|---|---|---|
| Trapped cleaner | Local chemical concentration | Drainage and rinse definition |
| Dissimilar metal contact | Environment-dependent interaction | Assembly compatibility review |
| Surface contamination | Local staining or corrosion | Controlled handling and cleaning |
Use the actual chemical and mechanical conditions when choosing the acceptance test.
6. What makes a stainless steel heat sink manufacturable?
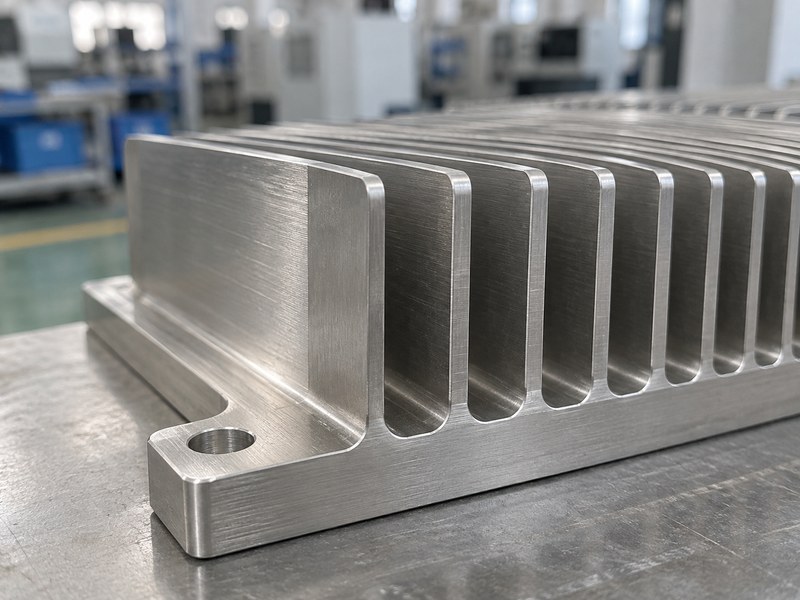
A stainless steel heat sink is manufacturable when its fins, slots, contact surfaces and inspection features suit the selected production process. Stainless machining can create work-hardening, heat and tool-wear challenges. Very deep slots or flexible thin fins add difficulty without guaranteeing a useful cooling benefit.
Review the tool path and inspection access
Leave practical corner radii and enough access for chip removal and deburring. Ask which operation establishes the final contact face and how the supplier controls movement after roughing or joining. A polished appearance can hide a surface that fails the required flatness.
For attached fins, define the joining method and how its thermal path will be checked. Joint quality, trapped contamination and differential movement deserve attention alongside the shape of the finished assembly.
- Identify dimensions that affect contact or airflow rather than appearance alone.
- Avoid inaccessible burrs in narrow slots and thread entries.
- Agree on the final condition in which dimensions will be inspected.
| Feature | Manufacturing concern | Supplier question |
|---|---|---|
| Deep slot | Tool reach and chip evacuation | What practical geometry is proposed? |
| Thin fin | Deflection and handling damage | How will shape be checked? |
| Flat interface | Distortion after processing | Which operation establishes final flatness? |
Resolve these details before a prototype becomes the uncontrolled reference for production.
7. How should you mount a stainless steel heat sink?
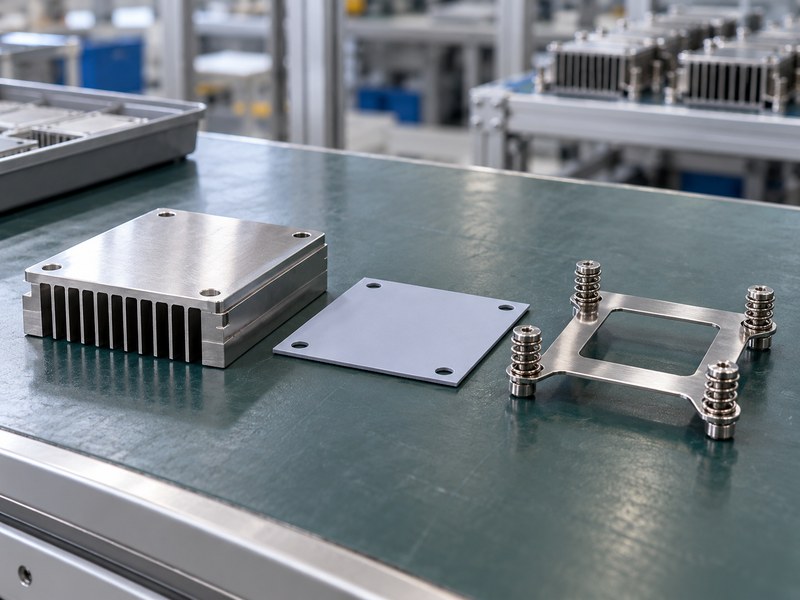
Mount a stainless steel heat sink with a controlled interface thickness and clamping arrangement that respects component limits. Contact pressure can improve conformity, but excessive force can damage a package, board or thin housing. The fastening arrangement must also remain serviceable after temperature cycling.
Review the complete stack rather than the fastener alone
Expansion differences between stainless, aluminum, copper and polymers can alter contact during operation. Account for the stack height, fastener travel and any spring element. The correct setting depends on the package and hardware, so a generic torque copied from another assembly is insufficient.
Review stainless steel heat sink retention with the electrical insulation requirements. A screw, clip or conductive insert can create a current path that an insulating interface pad alone does not interrupt.
- Define the interface material and approved assembly sequence.
- Check fastener load paths through the complete stack.
- Repeat the thermal check after the specified durability exposure.
| Assembly requirement | Define | Verify |
|---|---|---|
| Contact | Compressed interface thickness | Repeatable thermal result |
| Retention | Clamp setting and travel | No movement or package damage |
| Insulation | Complete isolated path | Appropriate electrical test |
Release the hardware, interface material and assembly instruction together.
8. How does vibration change a stainless steel heat sink design?
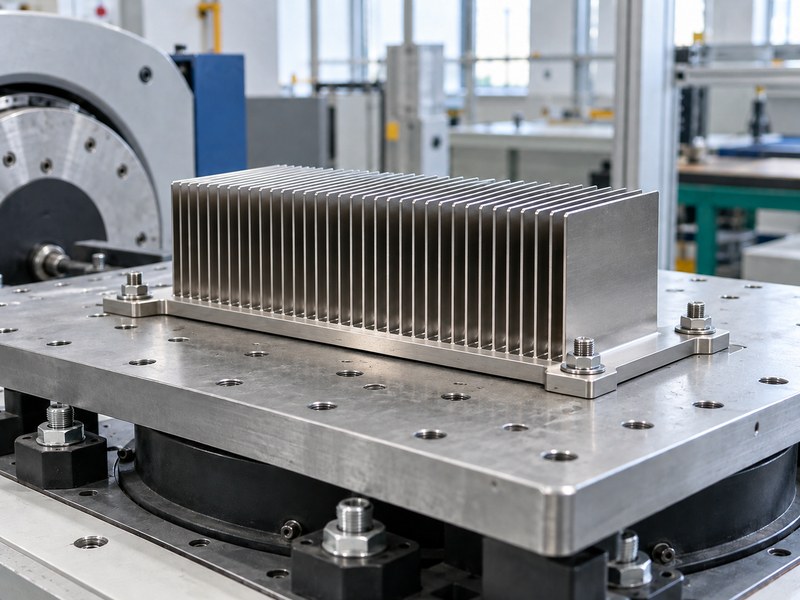
Vibration changes a stainless steel heat sink design by placing loads on its mounts, fins and connected components. A relatively heavy cooling part may need direct support from the chassis. Allowing a small semiconductor package or circuit board to carry that mass can create an avoidable fatigue risk.
Include transport and service loads
Operating vibration is only one load case. Shipping shock, repeated maintenance and cable or hose forces can change contact or damage thin features. If the part also forms a housing wall, check how those loads affect sealing and the thermal interface.
Use the production mounting points in the qualification fixture. Clamping a specimen by its fins during a bench test creates a different mechanical system and may conceal the weakness of the intended mounting arrangement.
- State mounting orientation and the supported mass.
- Keep external hose or cable loads away from fragile interfaces.
- Inspect retention, flatness and thermal performance after the test.
| Load case | Potential failure | Design response |
|---|---|---|
| Operating vibration | Mount or fin fatigue | Suitable support and geometry |
| Transport shock | Permanent movement | Packaging and retention review |
| Maintenance force | Damaged interface or seal | Defined access and handling points |
Include a post-test thermal check whenever mechanical movement could change contact.
9. How do you validate a stainless steel heat sink?
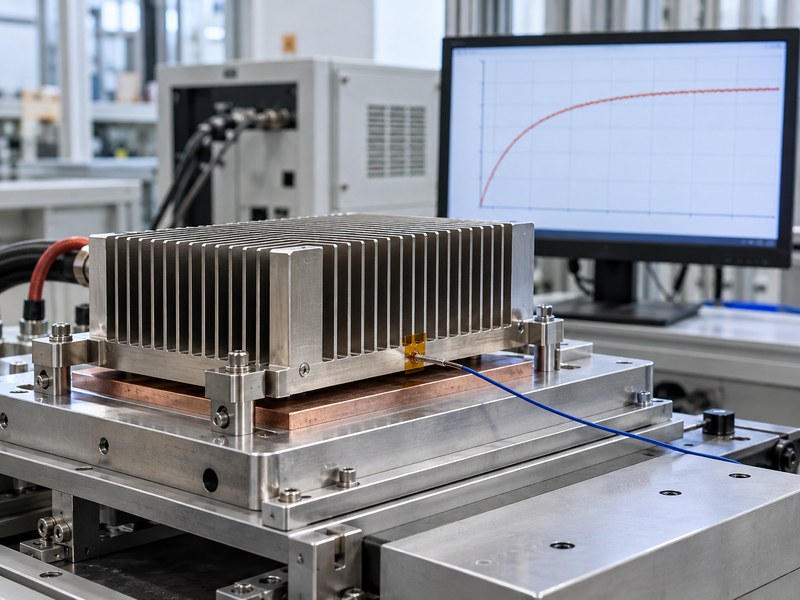
Validate a stainless steel heat sink with the intended heat source, interface and cooling conditions. Record local air or coolant temperature along with source temperature. A shiny surface can mislead an infrared instrument unless emissivity and reflected radiation are handled correctly.
Measure what your acceptance criterion describes
Contact sensors can provide a useful cross-check, provided their attachment and location are controlled. A sensor on a fin tip measures a different point from a sensor near the source. Record the location on a drawing or setup photograph so the result remains interpretable.
When a stainless steel heat sink reaches its practical air-cooling limit, compare alternatives at the same source-temperature target. Include the pump, fan and interface conditions in that comparison rather than comparing isolated nominal ratings.
- Define stabilization, ambient control and heat-input measurement.
- Check mounting repeatability across more than one assembly.
- Retain raw temperature trends and the complete setup description.
| Test record | Needed detail | Why it affects the result |
|---|---|---|
| Sensor position | Exact attachment location | Captures local gradients |
| Cooling boundary | Airflow or inlet coolant condition | Defines heat removal |
| Interface stack | Material and assembly setting | Controls contact resistance |
Accept a result only for the configuration and conditions the test actually represents.
10. What should a stainless steel heat sink supplier quote?
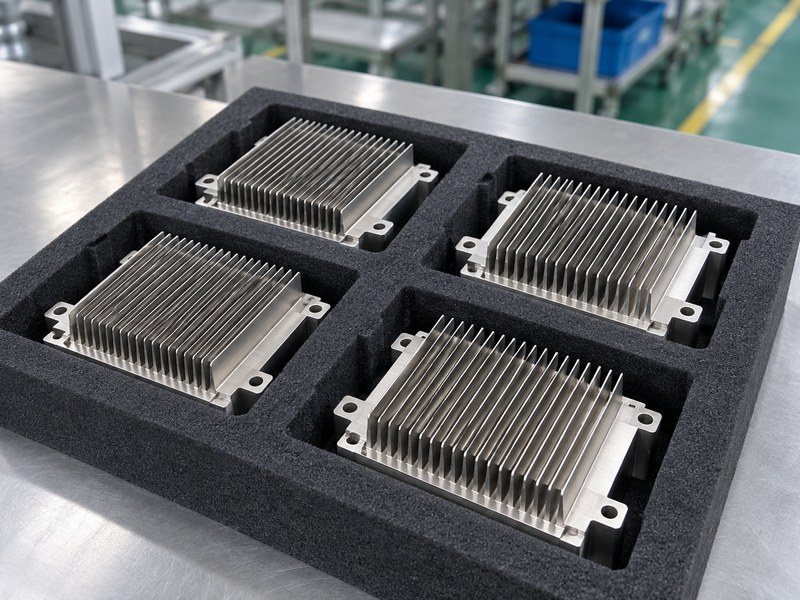
A stainless steel heat sink supplier should quote the specified material, finished geometry, inspection and validation scope. Ask for separate treatment of tooling, samples and production quantities. A price comparison becomes useful when all suppliers are working from the same requirements and accepted alternatives.
Define the evidence needed before production
Request an explanation of the proposed material route and any subcontracted finishing or joining operations. Agree on sample quantities, traceability and how deviations will be handled. If the supplier recommends aluminum or a hybrid assembly, compare it against the same thermal and exposure limits.
Send the source layout, exposure conditions and drawing when you contact us. We can review relevant heat sink and cold plate options before you commit to a geometry that meets the mechanical drawing but misses the temperature target.
- Provide a temperature target and the conditions behind it.
- Identify required material and inspection records.
- Define which production changes require renewed validation.
| Quote item | Request | Compare consistently |
|---|---|---|
| Material | Grade, form and traceability | Approved equivalent policy |
| Manufacturing | Tooling and secondary operations | Final-condition geometry |
| Validation | Sample and production checks | Shared acceptance limits |
Approve the evidence package along with the sample so the production order has a clear reference.
FAQ
Q1: Can I use a stainless steel heat sink in washdown equipment?
Yes, if its grade, geometry, seals and cleaning conditions are suitable. Check chemical exposure and drainage as well as the operating temperature of the protected electronics.
Q2: What is the best stainless grade for every cooling application?
There is no universal grade. Exposure, fabrication, strength and the thermal path determine the choice, and each requirement should be stated before a supplier proposes a substitution.
Q3: Does a polished stainless surface cool better?
Not necessarily. Surface appearance does not establish contact flatness, convection or radiation performance. Evaluate the finish where it contacts another part and where it exchanges heat with the environment.
Q4: How do I know whether the supplier used the right alloy?
Use the agreed traceability records and material-verification method. Appearance, weight and a quick magnet check alone cannot establish the exact grade of a finished part.
Q5: Can I combine stainless construction with an aluminum heat sink?
Yes, when the interface, electrical requirements and environmental compatibility are addressed. This can let stainless provide the exposed structure while another material carries or spreads the heat.